
Blog
Bullet Journal for Beginners: Set Up Your First Spread

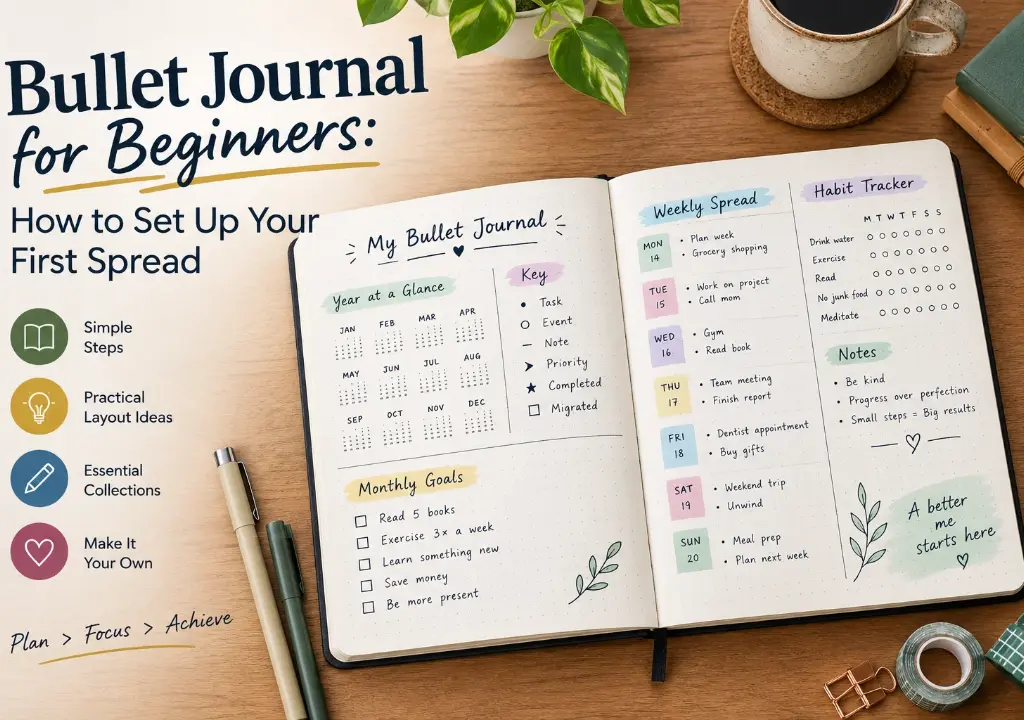
Bullet Journal for Beginners: How to Set Up Your First Spread
New to bullet journaling? You need one notebook, one pen and about 20 minutes. Here is the simple method, step by step, in a dot grid notebook.
A bullet journal is a simple planning system you build yourself on blank pages. Start with four pages: an index, a future log, a monthly log and a daily log. Write short bullets, mark them with the symbols above, and review once a month.
The method was created by Ryder Carroll as a way to organise notes, tasks and events in one notebook. You don’t need artistic skill or fancy supplies. A plain page with short, quick entries is exactly what the system asks for, and it is called rapid logging.
Which notebook should you choose?
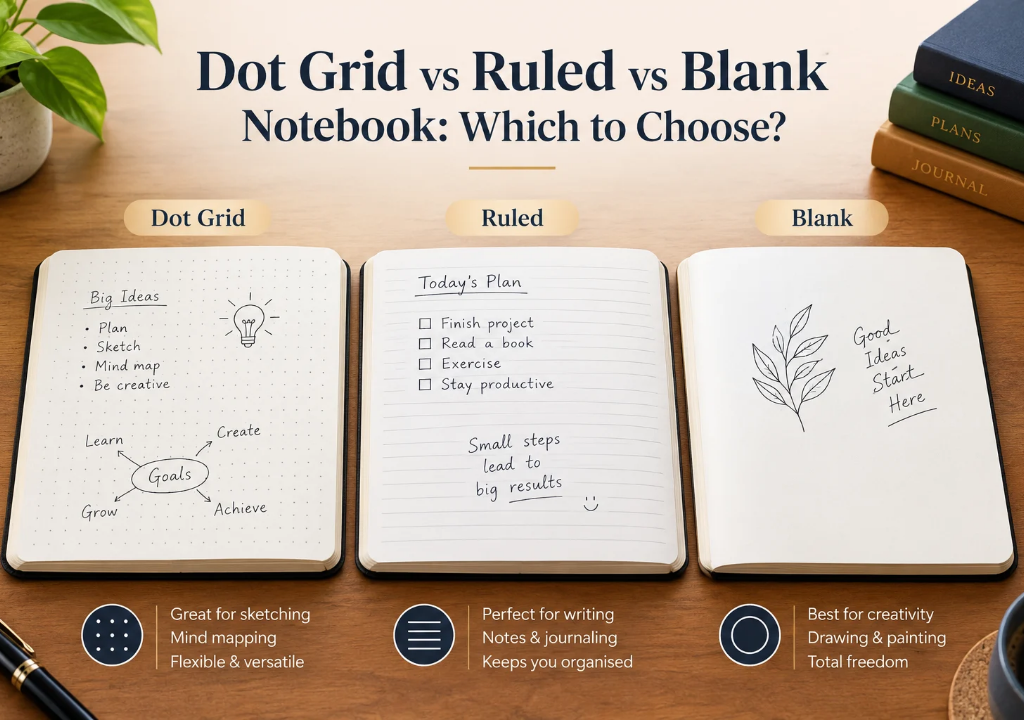
Choose a dot grid notebook. Dots guide your lines for calendars and trackers without the heavy lines of a ruled page, which is why most bullet journalists pick them. Numbered pages are a big help, because your index relies on page numbers.
If you are still comparing layouts, read dot grid vs ruled vs blank notebooks.
The four core pages
Tap each tab to see what the page looks like and what it does.
Index is the table of contents. Each time you start a new page or collection, write its title and page number here.
It is the one page that makes the whole notebook searchable.
Future log holds events and tasks for the months ahead. Split two pages into six boxes, one per month, and jot down birthdays, trips and deadlines.
Monthly log has two parts: a calendar page listing the dates down the side with a short note beside each, and a task page for everything you want to finish this month.
Daily log is where you capture the day. Write the date, then add short bullets as things come up: tasks, events and notes. No planning ahead and no empty template to fill.
Set up your first bullet journal in 7 steps
Pick your notebook and pen
Use a dot grid notebook with numbered pages and a pen that doesn’t smudge. Gel or fine ballpoint works well on most paper.
2 minutes
Leave the first pages for your index
Reserve the first one or two pages for the index. Write “Index” at the top and leave it empty for now. If your pages aren’t numbered, number them as you go.
2 minutes
Create your future log
Turn to the next two pages and divide them into six sections, one per month. Add anything you already know is coming, such as trips, exams or birthdays.
5 minutes
Set up this month’s monthly log
On a fresh page, write the month and list the dates down the side. On the opposite page, add a short list of tasks for the month. Add both pages to your index.
5 minutes
Start your first daily log
Write today’s date and start rapid logging. Use a dot for tasks, a circle for events and a dash for notes. Keep each entry short.
3 minutes
Review and migrate each evening and month
At the end of the day, mark finished tasks with an X. Move unfinished ones forward with an arrow, or cross them out if they no longer matter. This migration habit keeps your list honest.
5 minutes a day
Add collections once you are comfortable
When the basics feel easy, add a habit tracker, reading list or goal page. Each one goes into your index with its page number.
When ready
Your starter kit
Tick what you already have. Only the first two are essential.
Browse our pens to find one that suits your hand.
Common beginner mistakes and quick fixes
A notebook made for bullet journaling
Our Nuuna Graphic L is an A5 dot grid notebook with 256 numbered pages, 120 g paper and lay-flat thread stitching, so your index works from page one and the book stays open while you write.
Nuuna Graphic L Dot Grid Notebook (A5)
3.5 mm grey dot grid, 256 numbered pages, 120 g premium paper, recycled leather cover.
₹4,249 ₹4,999
Want a tougher cover?
Compare flexible and hard covers before you pick your first journal.
Ready to start your first spread?
Bullet journal FAQs
What do I need to start a bullet journal?
A notebook and a pen are enough. A dot grid notebook with numbered pages makes it easier, but you can start in any notebook.
How long does it take to set up?
About 20 minutes for the index, future log, monthly log and your first daily log. After that, daily upkeep takes a few minutes.
Do I need to be good at drawing?
No. The core method is just short bullets and simple boxes. Decoration is optional.
What is rapid logging?
Rapid logging is writing short bullet entries instead of full sentences. You mark each one as a task, event or note using simple symbols.
What if I miss a few days?
Just start a new daily log with today’s date. There are no empty pages to fill, so nothing is wasted.
Is dot grid better than ruled for a bullet journal?
Most people prefer dot grid because the dots help with layouts but stay quiet on the page. You can use a ruled notebook if you only plan to write lists.
Keep reading
Method credit: Ryder Carroll, creator of the Bullet Journal method. Learn more at bulletjournal.com.